1 of 22
This is the main page of SurveyGizmo. We call this the "Dashboard or Home Page." On the this screen you will have a list of all your surveys, quizzes, forms and polls. Additionally the left hand navigation menu is available for audience, Design Library, Research Library, and Much more!To access a survey, click on its title in the list.

2 of 22
If you need to get back to the home page or dashboard simply click the Company icon or the Projects icon wherever you are in the application.

3 of 22
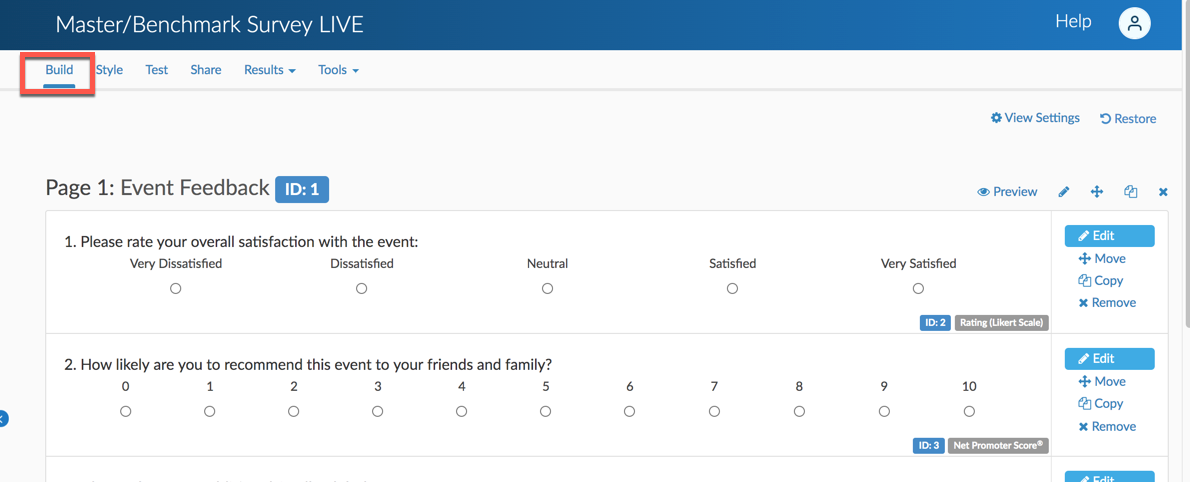
The Build tab is where surveys are built and edited. Here, one can add questions, actions, and media elements such as images.
4 of 22
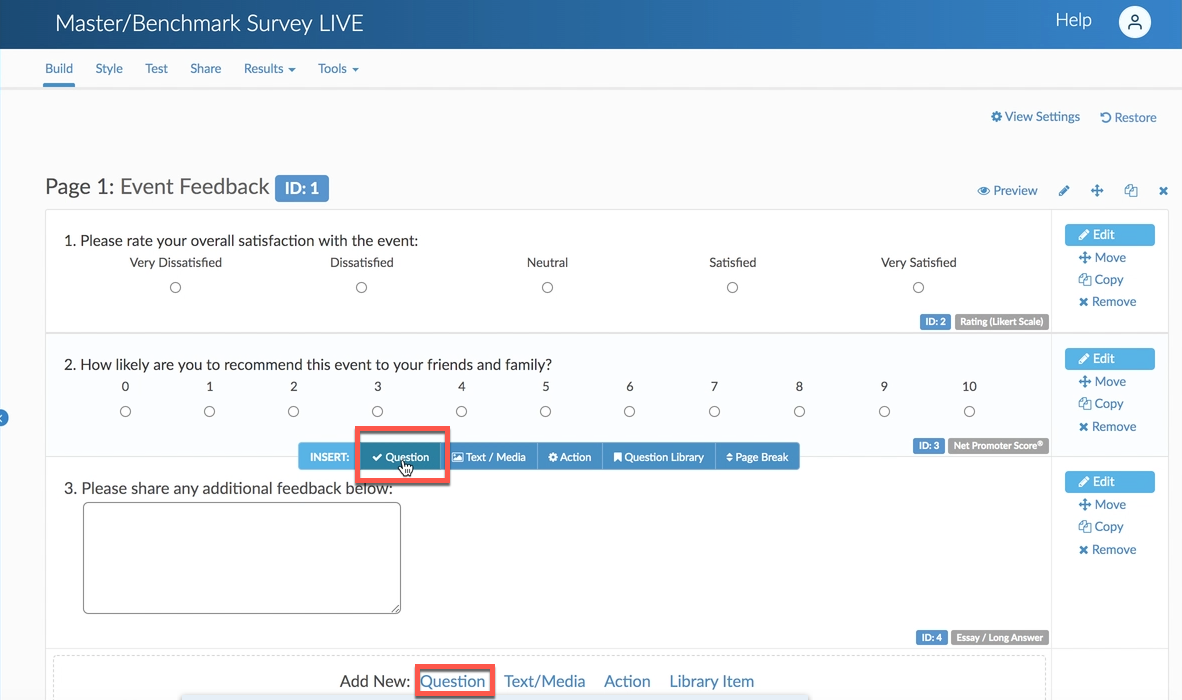
At the bottom of each page and between each question is a button to add a new question.
5 of 22
When you click the option to add a question a panel will slide out from the right. We call this the question editor.

6 of 22
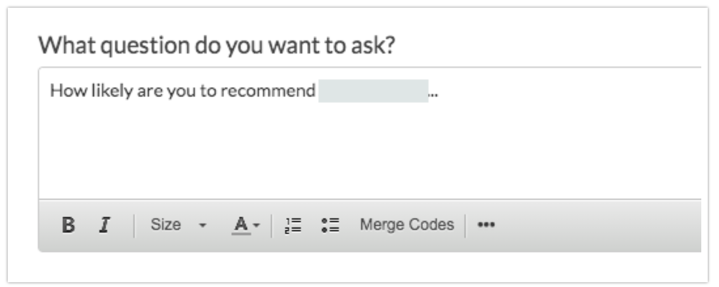
At the top is the question type dropdown menu for you to select the appropriate question type. Need help choosing a question type?

7 of 22
Below the question type menu is where you enter the question you want to ask.
8 of 22
Your answer options are below your question. Click the link to Common Answer Library, to select from our library of answer options.

9 of 22
To add a page to your survey click the Add a Page link between any two pages.

10 of 22
To edit a question, hover your mouse and click once it is highlighted in blue. For pages click the pencil icon to edit.

11 of 22
On the Logic tab of the question editor, you can set up rules for when the question is shown.

12 of 22
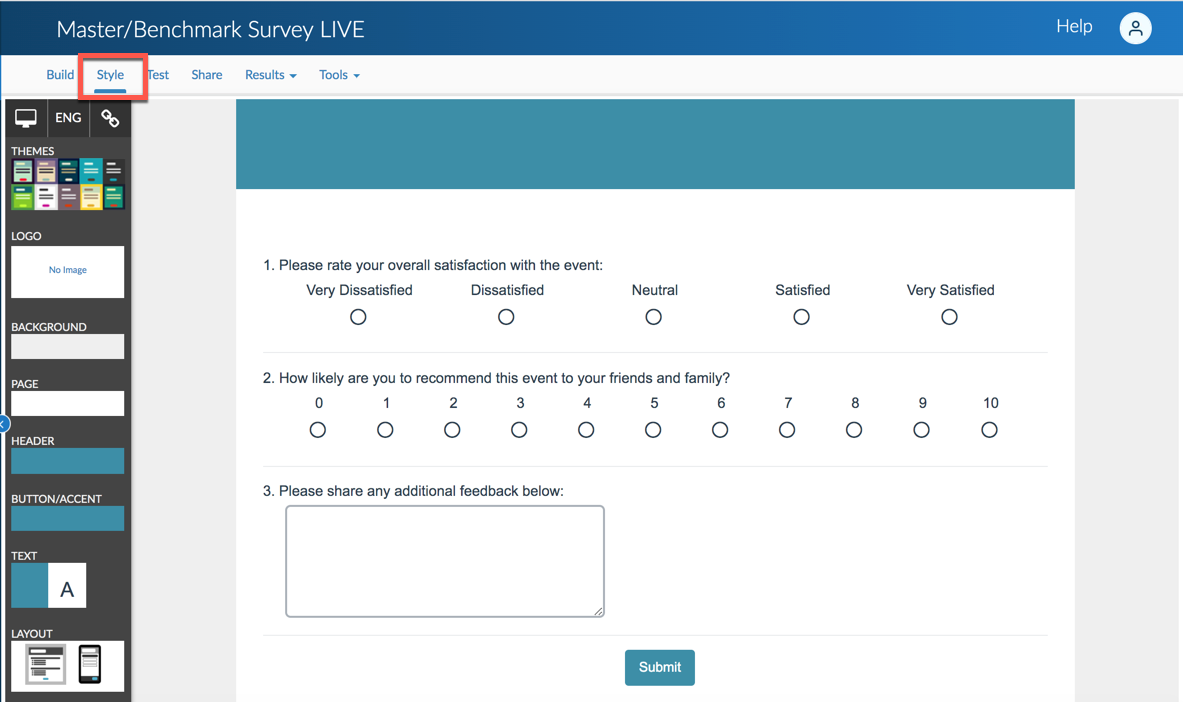
On the Style tab, you can customize your survey's look and feel.
13 of 22
On the Test tab, you can record a test response, generate test responses, invite others to test and get fatigue and accessibility scores.

14 of 22
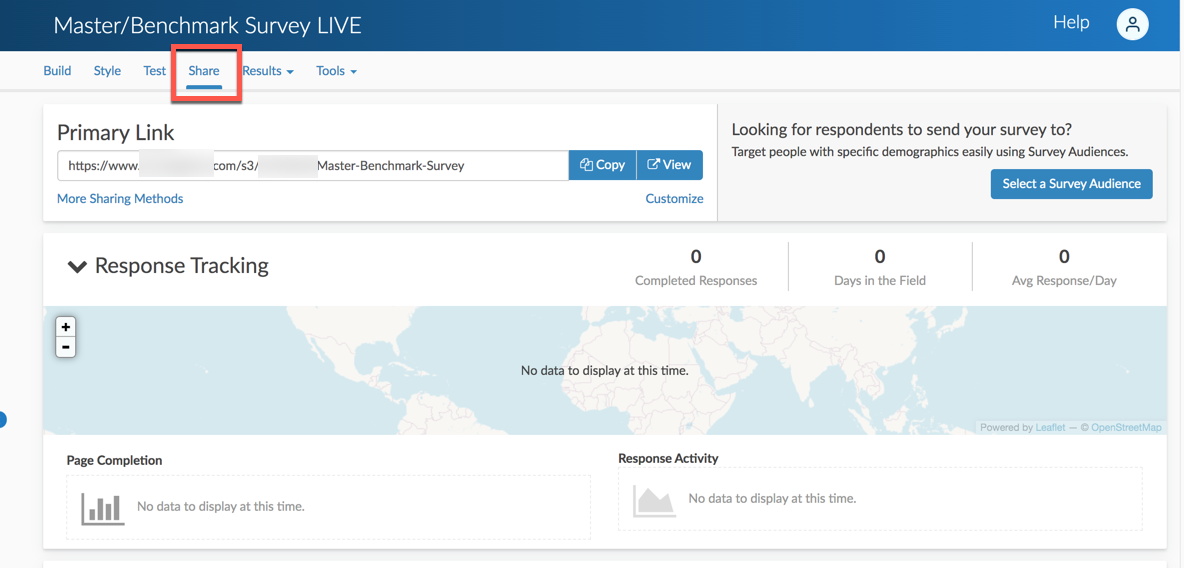
The Share tab is where you can grab the link to send to people to take your survey. You can also set up other ways to share your survey here.
15 of 22
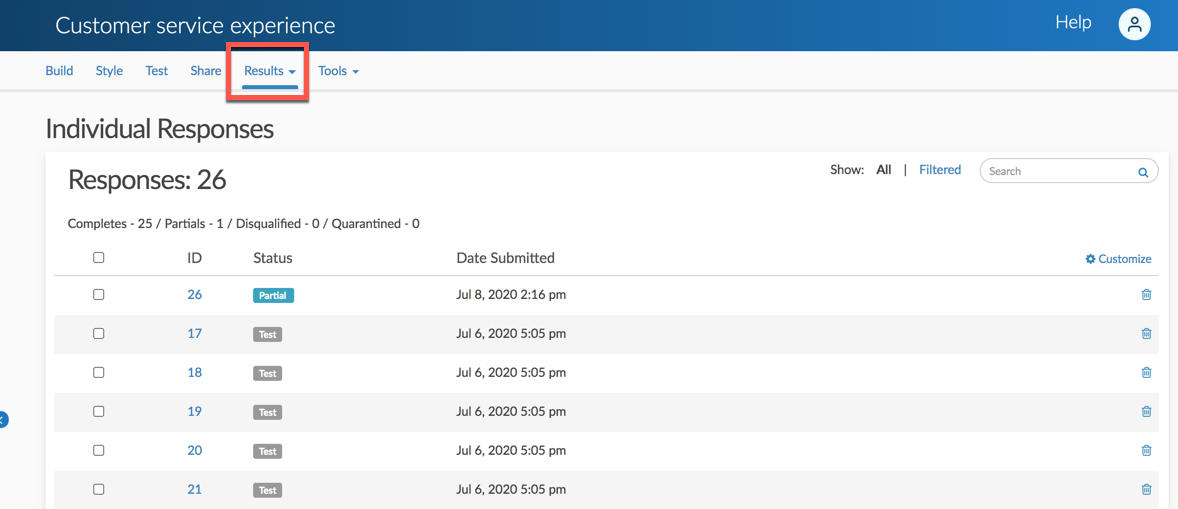
Head over the Results tab and select Individual Responses from the dropdown that appears once you've shared your survey. Once your responses start rolling in, this is where all the data is collected. A list of all of your responses will be available under Individual Responses section of the Results tab. Responses that have been created since your last login will be flagged as New.
16 of 22
You can click on the individual responses to view the entire survey response. Within the response panel, click the Download button in the lower left corner to download and print out the response.

17 of 22
Under the Reports section of your Results tab Dropdown, you can create reports to view all of your data in a summarized format. There are also Data Preparation tools here designed to help you really dig into your data.

18 of 22
The Standard Report is the easiest way to see all of your aggregate data. There will be a Standard Report waiting; click the View/Edit to get started checking out your data.

19 of 22
Click Add Filter in the left-hand panel to filter responses by the date they were submitted as well as answers to questions in your survey.

20 of 22
Click the Share Report link to the upper-right of your report to get a public report and/or embed code for displaying the results directly on your website. You can also set up a scheduled email delivery of your results here.

21 of 22
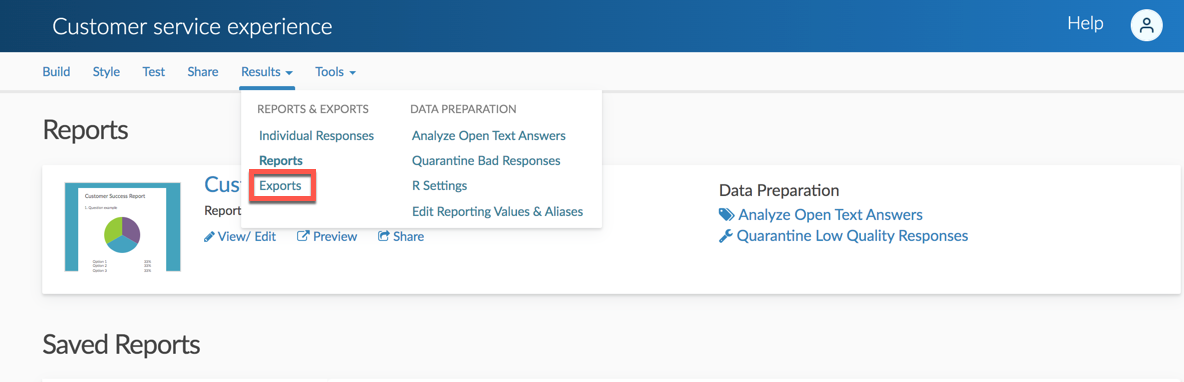
Beyond reports, under Results > Exports you can export your raw data to Excel or SPSS.
Admin
— Bri Hillmer on 01/18/2018
@Folly: Why thank you!
Bri Hillmer
Documentation Coordinator
SurveyGizmo Customer Experience Team
— Folly on 01/18/2018
Great site
Admin
— Bri Hillmer on 05/18/2017
Hi There! I'm pleased to hear you found the tour helpful!
Bri Hillmer
Documentation Coordinator
SurveyGizmo Customer Experience Team
— 690021299 on 05/16/2017
Very helpful!
Admin
— Bri Hillmer on 09/26/2016
@Bhimi: You can return to the home page by clicking either the home icon in the upper-left corner or the SG logo.
I hope this helps!
Bri
Documentation Coordinator/Survey Sorceress
SurveyGizmo Customer Experience Team
— Bhimi on 09/25/2016
I am watching the video I am new and it starts out on the Dashboard which I don't see or how to get to it
Admin
— Bri Hillmer on 01/11/2016
@Dana.jones: This should be fixed up now! My apologies for the trouble. Let me know if you continue to see this problem!
Bri
Documentation Coordinator/Survey Sorceress
SurveyGizmo Customer Support
— Dana on 01/11/2016
Most of the images are missing. I'm using a Google Chrome browser.