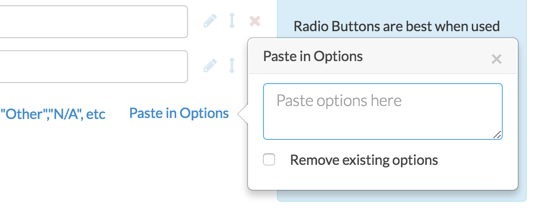
You may have noticed, when adding answer options to a question, there is an option to Paste in Options. In this tutorial we will cover bulk options when adding and editing answer options.

Pasting In Options From a List
- Copy your list of answer options from Word or wherever you've written them down.
- Add a new question or edit an existing question.
- Select your question from the Question Type dropdown and enter your question text.
- Delete the default answer options. Click the Paste in Options link and paste your answer options in the popup. The act of pasting these in will automatically add the options to your questions. Make sure that your answer options are one-per-line in order to be correctly pasted into the question.
- Make sure to Save Question when you are finished.
Adding Reporting Values
Reporting values can be pasted into the answer option grid if the custom reporting value option is selected.
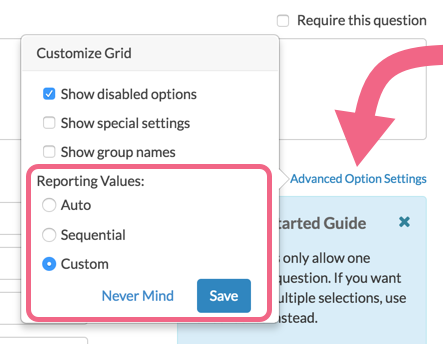
- To turn this option on, click the Advanced Options link in the top right corner of your answer options grid and select the Custom option for Reporting Values and then Save.
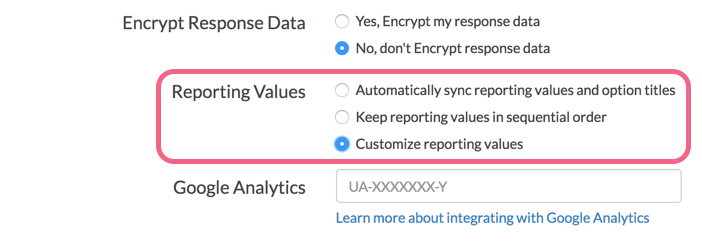
- You can also set this up at the survey level under Advanced >
General > Reporting Values > Customize reporting values.
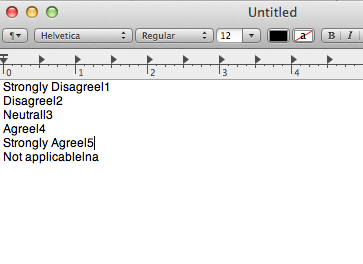
Reporting values can be pasted in bulk using the below format:
Answer option|Reporting value
Use the pipe symbol available using Shift + the backslash key above the Enter/Return key as the delimiter. For example:
Adding Special Settings
The following special settings can be pasted into the answer option grid if the option to Show special settings is selected. To turn this option on, click the Advanced Option Settings link in the top right corner of your answer options grid and select Show special settings and then Save.
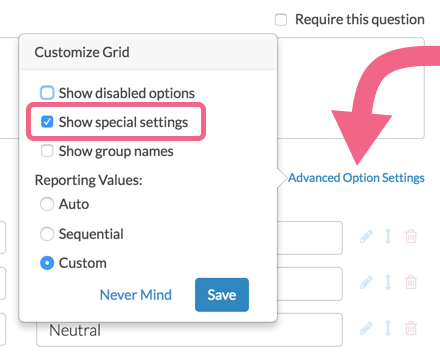
Use the following format to specify a special setting when adding/editing answer options in bulk:
Answer option|Reporting value|Special Setting
Use the pipe symbol available using Shift + the backslash key above the Enter/Return key as the delimiter.
Use the following short-hand values to specify a special setting:
- Other - Enter "other" in the special column
- Exclusive/None of the above - Enter "none" in the special column
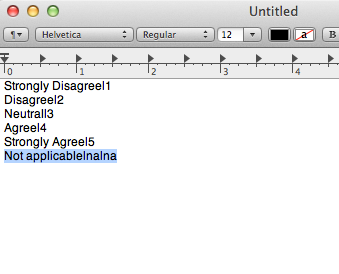
- Not applicable - Enter "na" in the special column
- All of the above - Enter "all" in the special column
For example:
Highlight to Bulk Delete
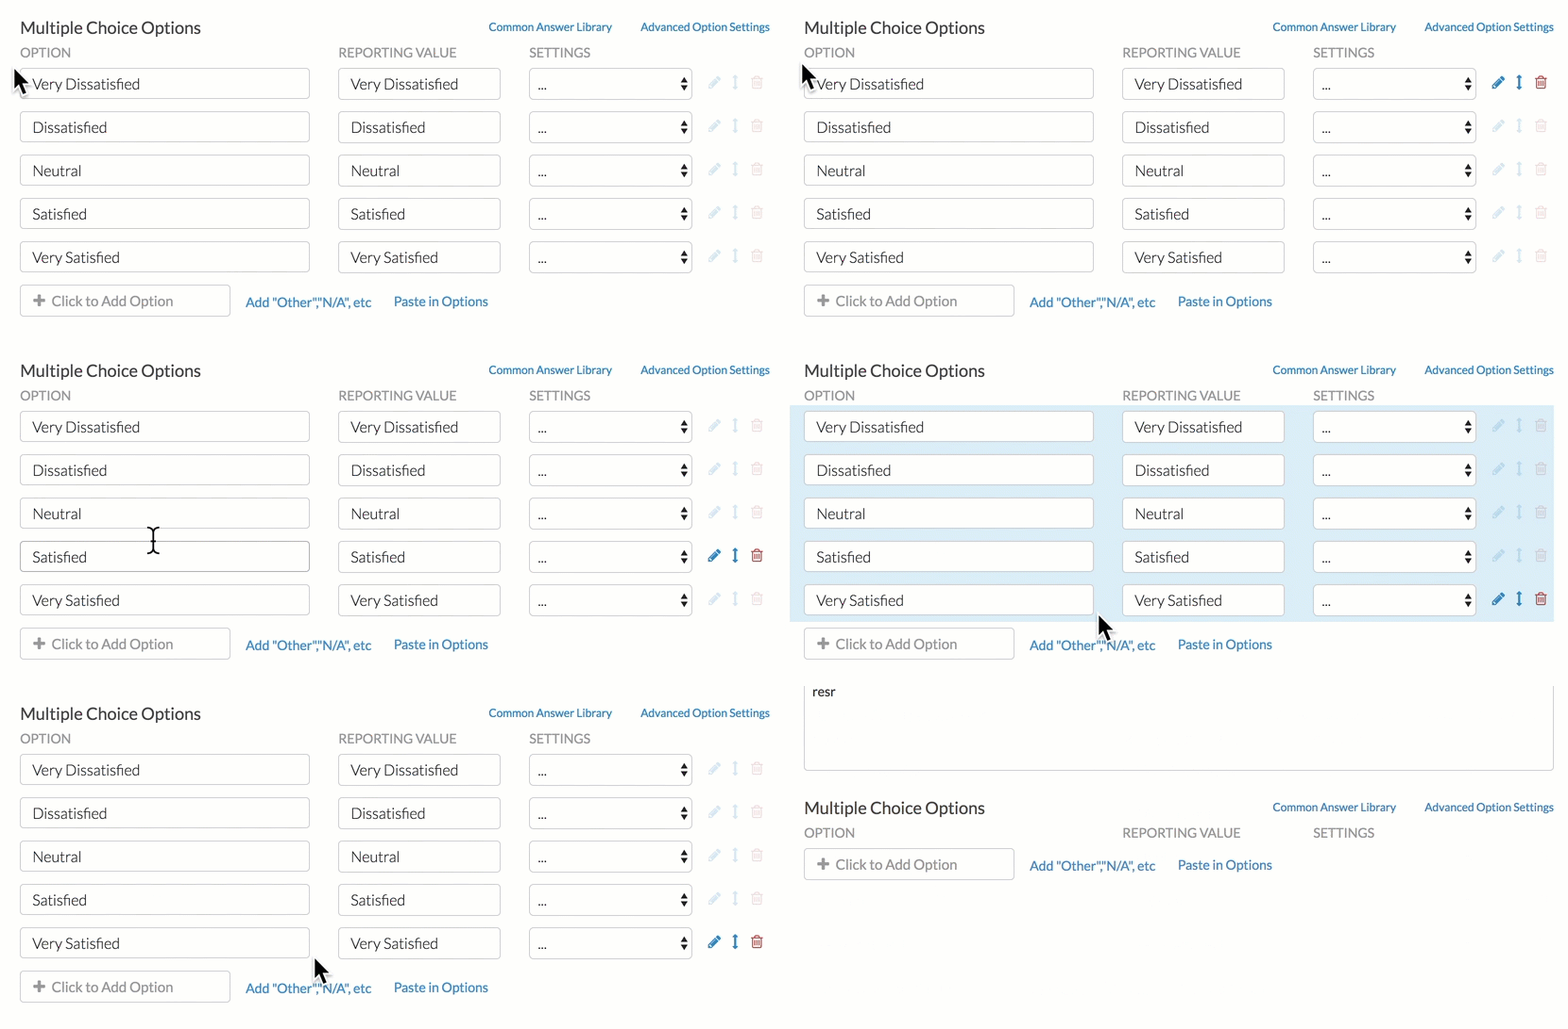
If you are looking to delete all of your answer options in bulk instead of clicking the red x on each answer option you can highlight all of the answer options. To do so click and hold above or below the list of answer options and draw a box to include all answer options.
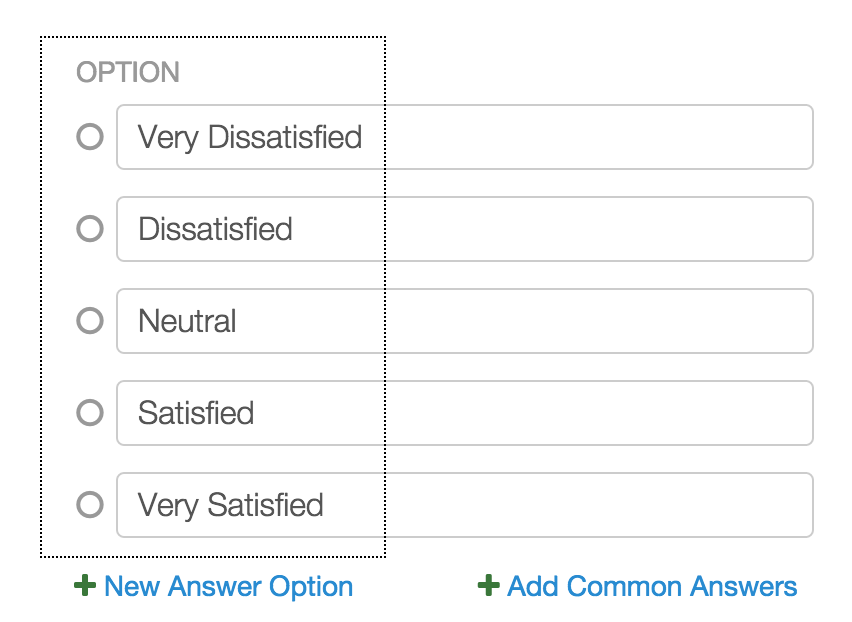
With all of your answer options highlighted press the Delete key on your keyboard to delete all of the highlighted answer options in bulk.
Require, Enable/Disable or Show/Hide Question Numbering In Bulk
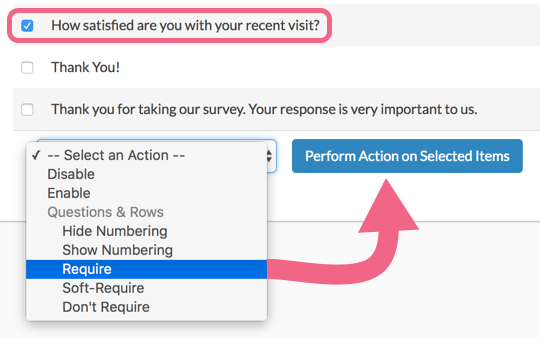
If you want to quickly require/un-require, enable/disable or show/hide question numbering in bulk, you can click on Tools > Bulk Editor and then select which questions you want to adjust.
Use the Select an Action menu to select your desired action and click Perform Action on Selected Items.
Edit Question Titles, Page Titles and Descriptions in Bulk
While we don't have a tool specifically designed for bulk editing the question and page fields in your survey, we have a sneaky workaround using the Text & Translations tool!
- Go to Tools > Text & Translations and click on the language for which you wish to make your edits.
- Click Export Fields for Translation button in the far right corner.

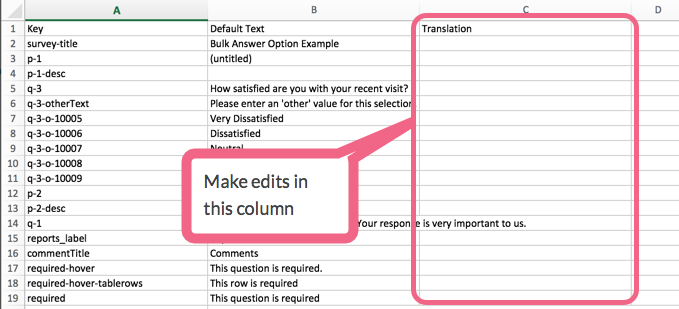
- This will download a spreadsheet of all fields in your survey. The spreadsheet will have a Key column, a Default Text Column and a Translation column. Make your edits in the Translation column and save your spreadsheet when you are finished.
- Then, simply click the Import Translation button in the far right corner to upload your changes!
