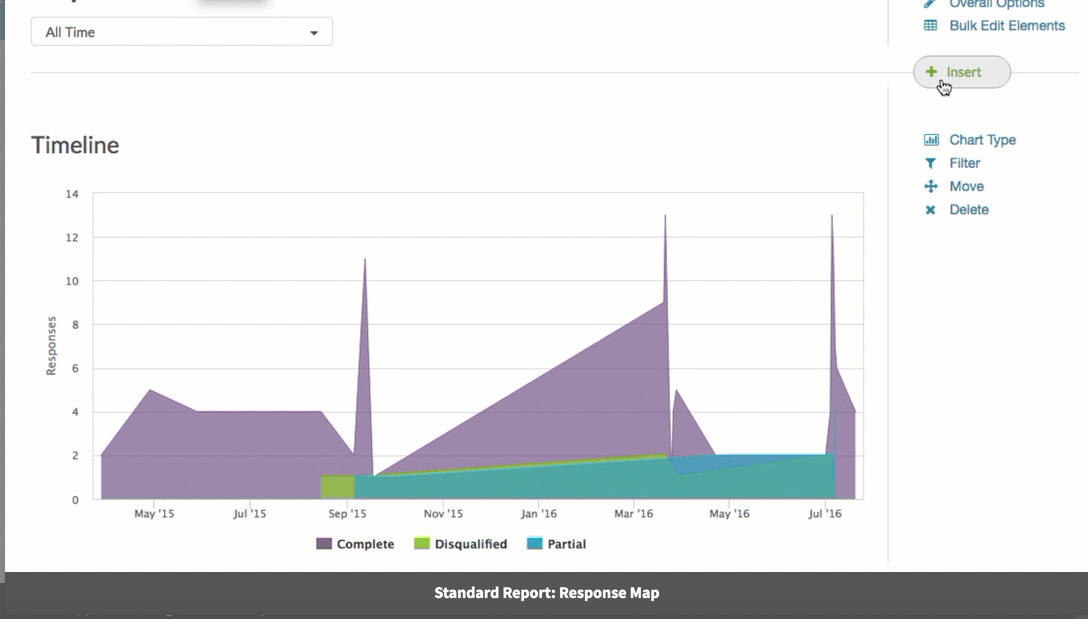
Looking to add a map showing the diversity of all of your respondents? You can easily add a response map using the Insert Tool in the Standard Report, here's how!
To add a map to your Standard Report simply click the Insert button between any two elements where you wish to add your map and select the Response Map option from the dropdown menu.
The map will show dots for locations where responses were recorded. Click on the dots to zoom in. Click the minus sign to zoom back out.
Understanding Response Map Data
The geodata location, which is used to populate response maps, derives the city, state, ZIP code or country from which a person has connected to the Internet by using their device's IP address. Determining which nation a respondent came from based on their IP address is simple and usually very accurate (95%-99%) because registrars require a country name when an IP range is allocated and that information is freely available.
Determining a location down to the city or ZIP code is less accurate and much more difficult. Respondents could be sharing an IP address and ISP's often base their IP addresses in the city where the company is located versus where the respondent actually is.
For example, we are based in Boulder, Colorado and responses generated in our own offices show up in geodata approximately 2.3 miles away!
Filtering Your Map
It is important to note that any date filters you apply to your report will also be applied to the map.
Admin
— Bri Hillmer on 02/01/2017
@Jashea: That is great news! Thanks for letting me and other users know!
Bri
Documentation Coordinator
SurveyGizmo Customer Experience Team
— Jashea on 02/01/2017
Bri, turns out changing the theme colors changes the dot color! I've got them bright blue now, and they're now visible enough that I don't need the size any bigger. Thanks.
Admin
— Bri Hillmer on 02/01/2017
@Jashea: The response dots cannot be customized at this time. I'll be sure to make note of this for discussion of possible future improvements with our development team!
Bri
Documentation Coordinator
SurveyGizmo Customer Experience Team
— Jashea on 02/01/2017
Is there any way to change the response marker color and size? The default of small, faded purple dots, with similarly colored borders, just really doesn't stand out visually at all.
Admin
— Dave Domagalski on 09/21/2016
@Amy: Thank you for your feedback! We will certainly update this article with any developments related to this feature!
David
Documentation Specialist/Survey Explorer
SurveyGizmo Customer Experience
— Amy on 09/21/2016
I also like this feature and agree with Shopper that I'd like to be able to freeze the zoom so I only see the area I'm interested in (U.S. or a specific state). Thanks.
Admin
— Bri Hillmer on 07/07/2016
@Shopper: We do not have any settings like you describe available at this time. I think this is a great idea however! I will make note of this for discussion of possible future improvements with our customer experience team.
Thanks for your feedback!
Bri
Documentation Coordinator/Survey Sorceress
SurveyGizmo Customer Support
— Shopper on 07/07/2016
This is a great feature! Thank you guys.
Is there a edit the settings of the map? For example, a way to set the initial view space to be just North America or just the EU?
Admin
— Bri Hillmer on 05/17/2016
@Laurie: This is a great idea! I'll make note of it for discussion for potential future improvements with our development team!
Thanks for your feedback!
Bri
Documentation Coordinator/Survey Sorceress
SurveyGizmo Customer Support
— Laurie on 05/16/2016
My first question is zip code, and I was also hoping to see that response on a map. I hope you can add that function!
Admin
— Bri Hillmer on 06/04/2015
@Therin: Thanks for taking a look at our documentation! We do not have the functionality that you describe. I'll be sure to make note of it for discussion with our development team for future improvements!
Bri
Documentation Coordinator/Survey Sorceress
SurveyGizmo Customer Support
— Therin on 06/04/2015
If geographic location is important in my survey, can I include zip or postal code as a question and have the responses generate a map like these?