Zapier is a service that integrates various web applications, making it easy to automate otherwise tedious repetitive tasks. For example, you can automatically send a message to an instant message client based off a survey response or copy a file from a File Upload action to Dropbox. Those are just two examples of the countless ways you can utilize Zapier to make your life happier!
Note: Zapier does not support EU or CA SurveyGizmo accounts. The Zapier Integration must be run on accounts within the US data center. Additionally, the Zapier Integration will not work with questions that have subfields, such as the Contact Form, Continuous Sum or Custom Groups/Tables.
Setup
- Sign up for an account at Zapier, it's very quick and easy. They offer a free 14-day trial so you can try them out with no commitment.
- Once you have an account, you're ready to create your first Zap; click MAKE A ZAP! (A Zap is Zapier's term for a trigger plus an action.)
- On the Choose a Trigger App screen, search for and select SurveyGizmo.
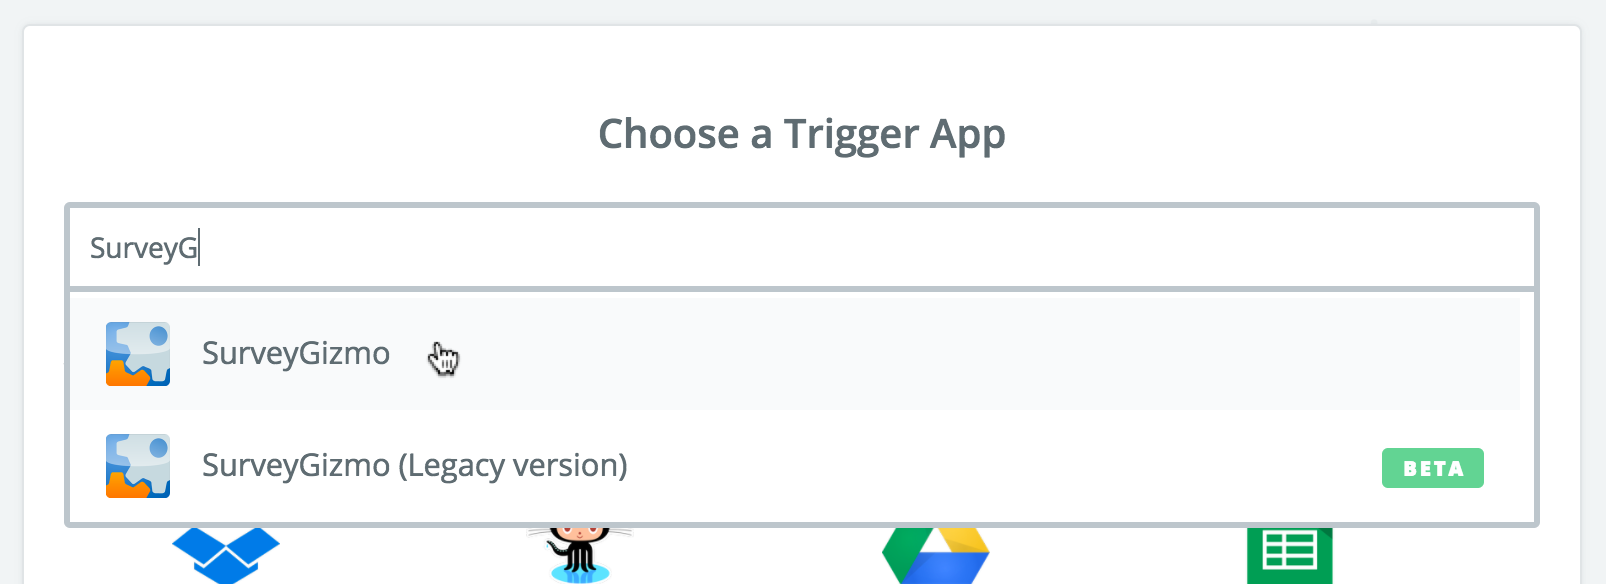
- A New Survey Response will be the trigger and whatever application you choose will have actions that can be triggered.
- Click Connect a New Account. Then provide your API Key and API Secret Key (not sure where to find these? Check out our API Authentication Tutorial). Click Save + Continue.
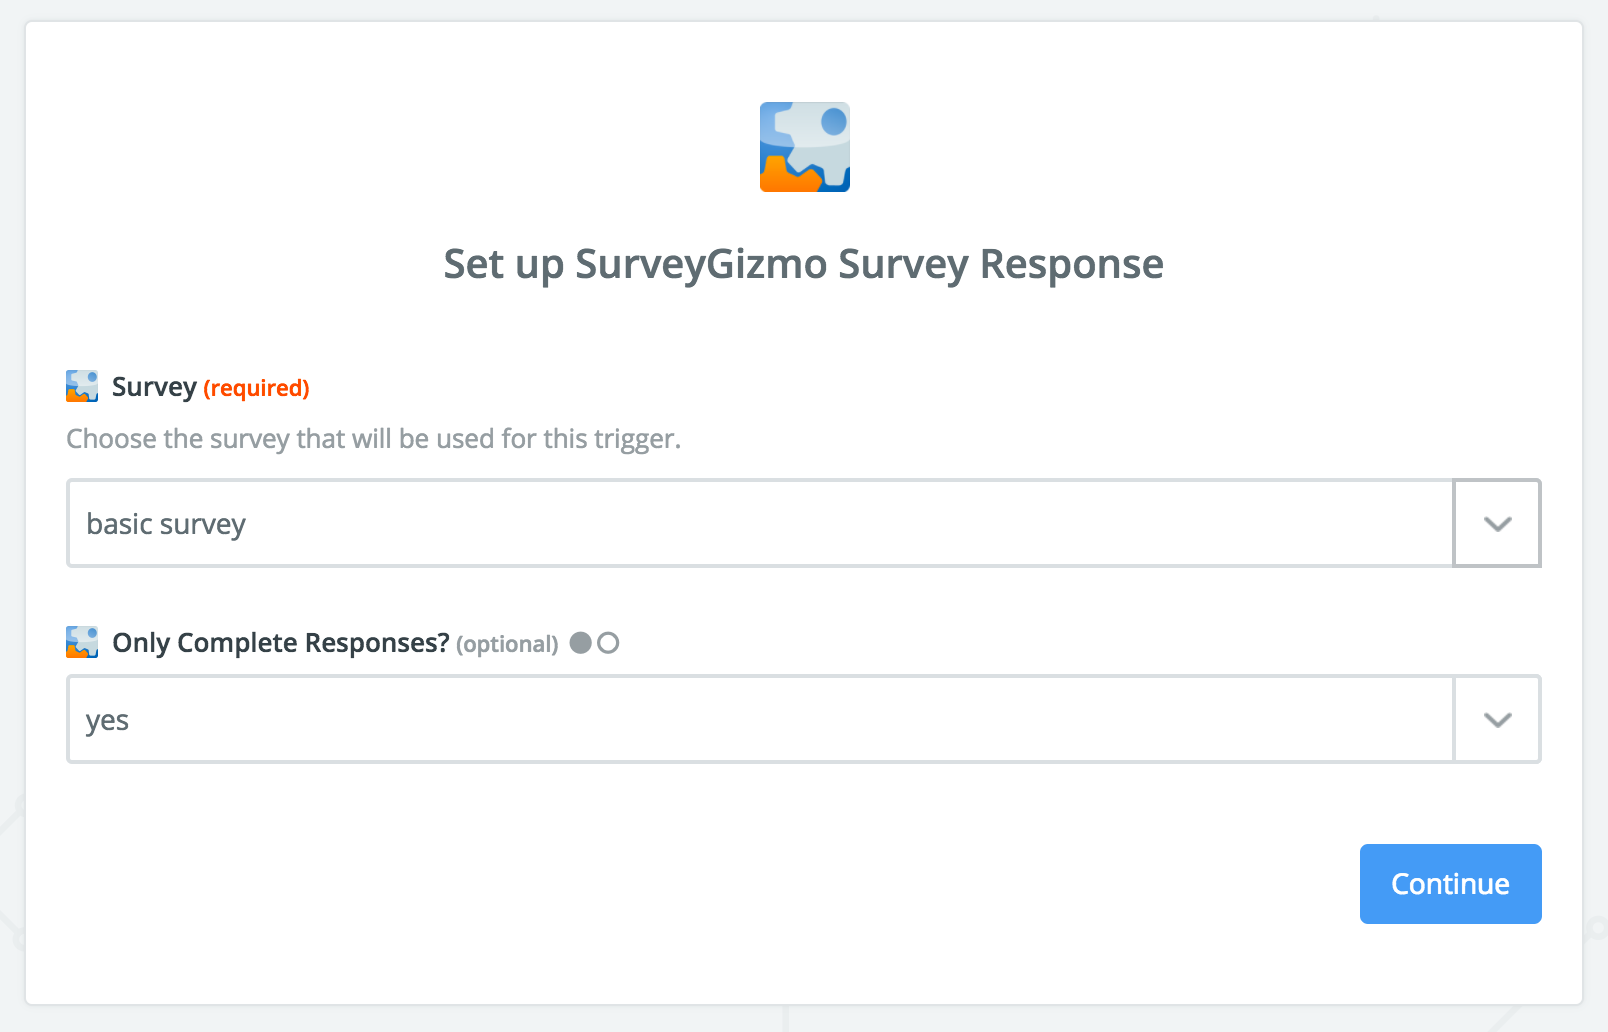
- Next, select the survey you wish to pull new responses from in the first dropdown menu. In the Only Complete Responses dropdown menu select either yes or no. Click Continue.
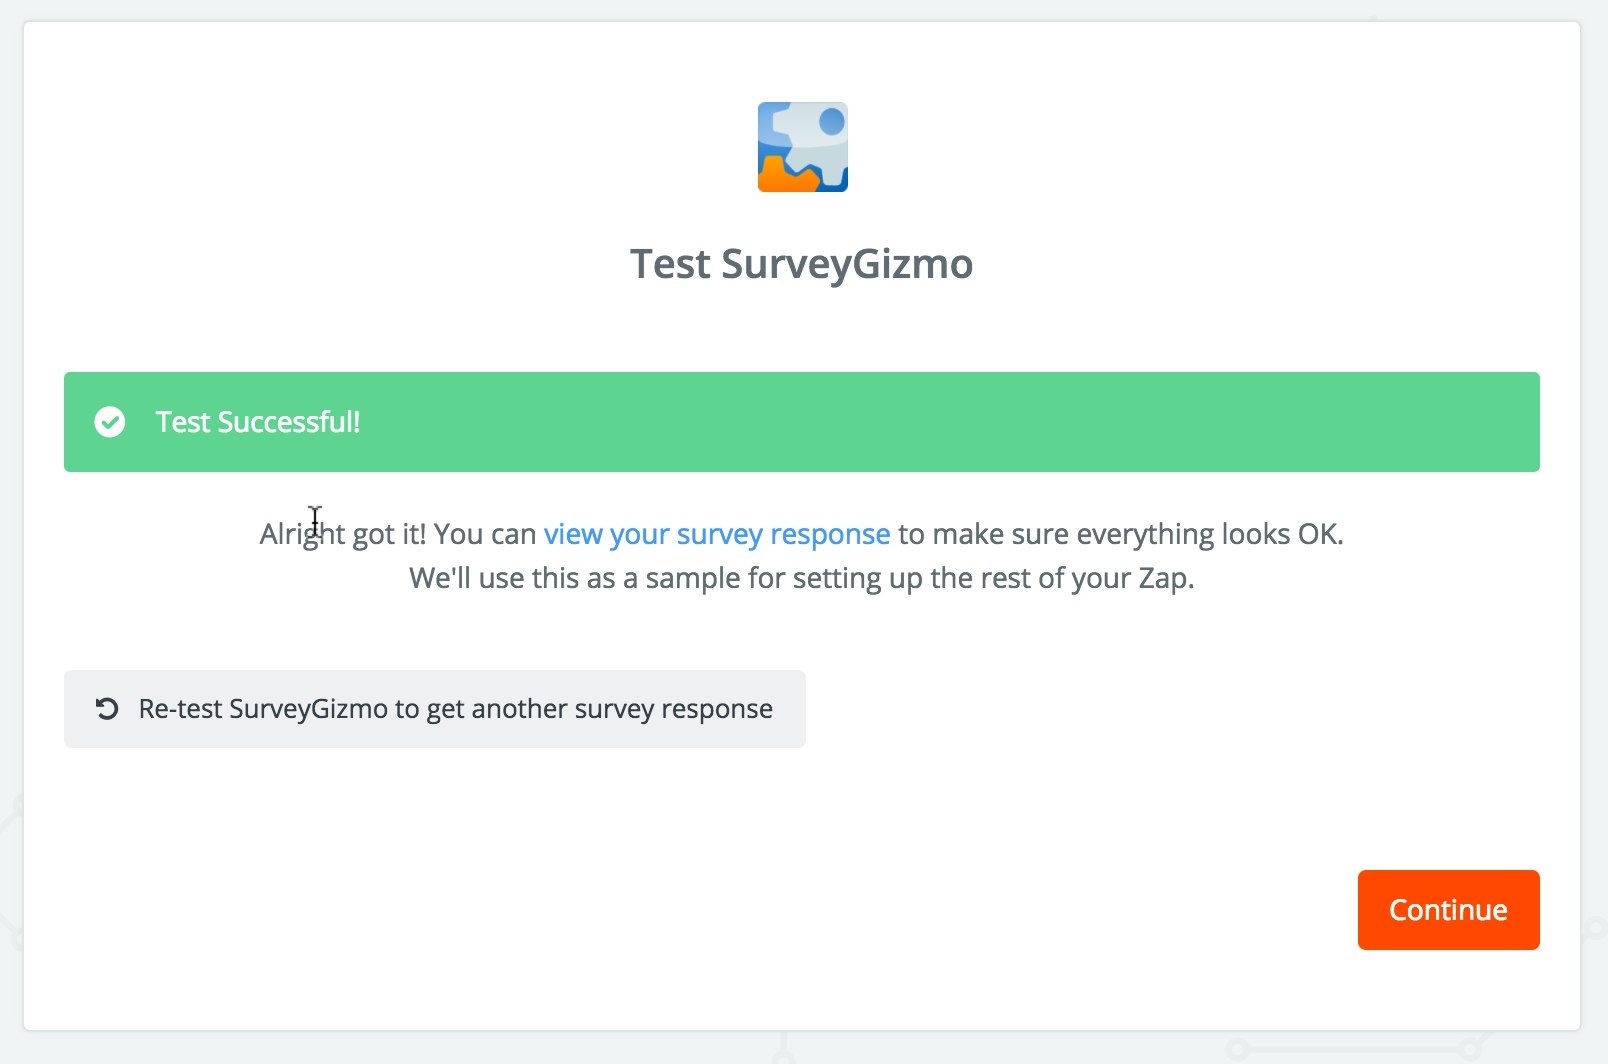
- Now you're ready to test your SurveyGizmo trigger. Once you receive confirmation that your test is successful click Continue.
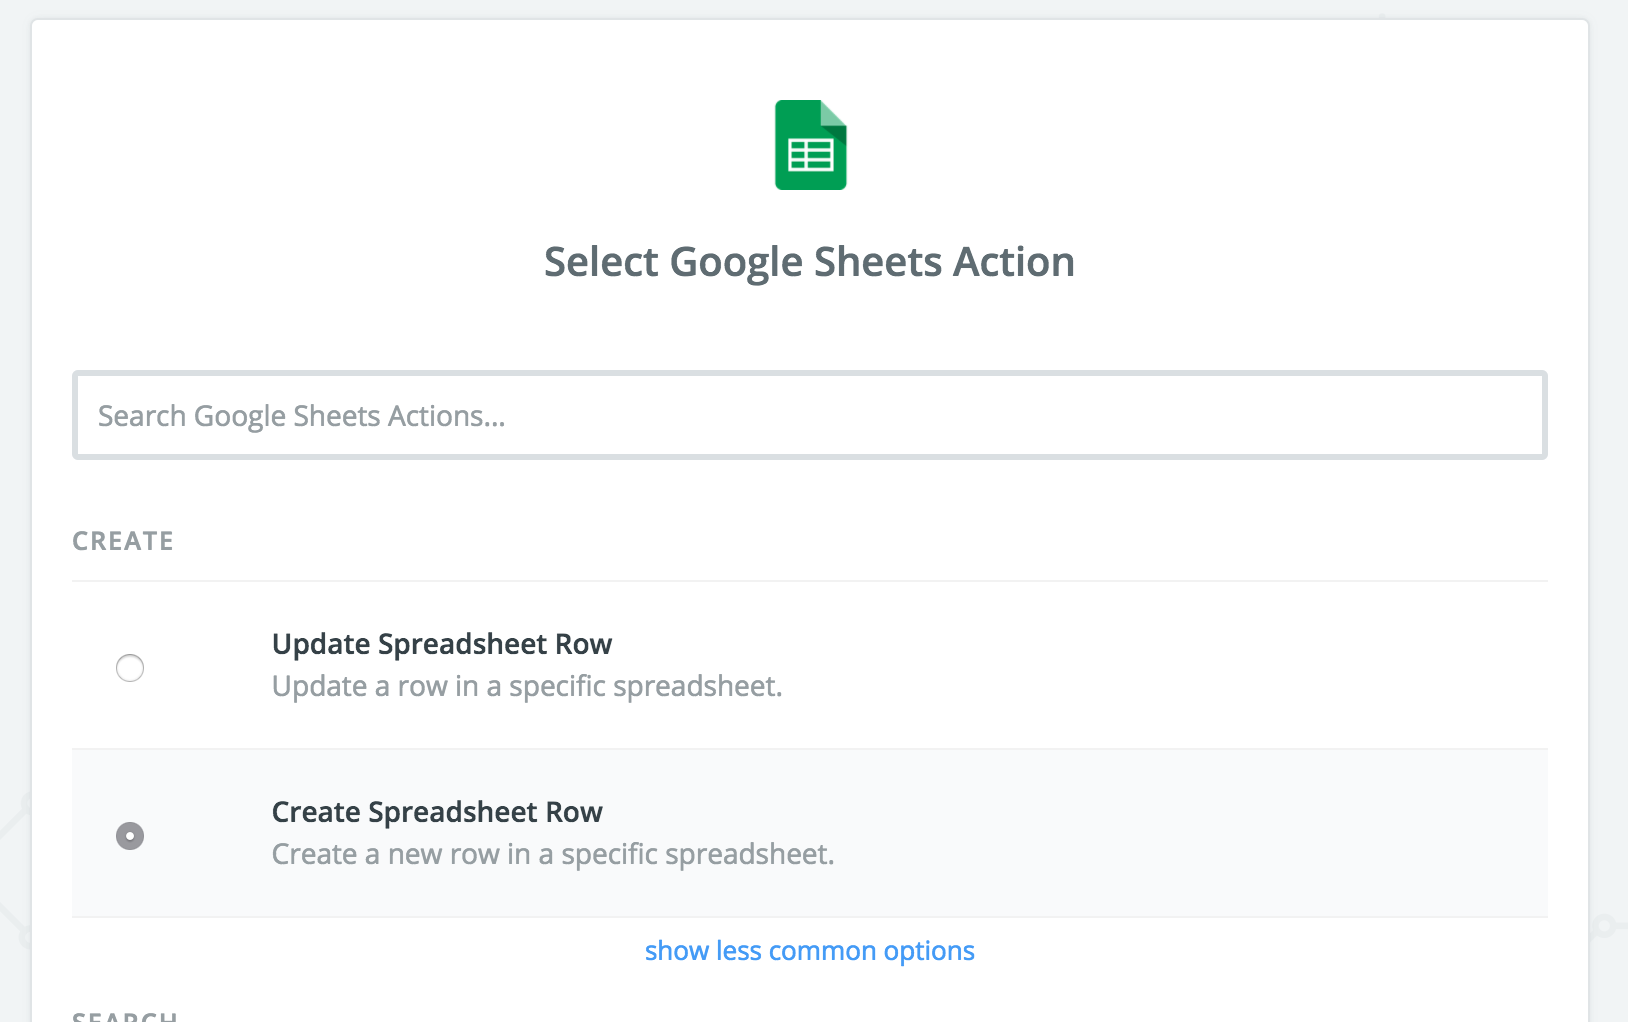
- Now, you're ready to set up your desired action. For this example, we'll create a spreadsheet row in Google Sheets, but there are endless options!
- Click Connect a New Account. Follow the prompts to connect to Google. Click Save + Continue.
- Next, select the Spreadsheet and Worksheet and map the fields in your SurveyGizmo survey to the columns in the spreadsheet you wish to send the data to.
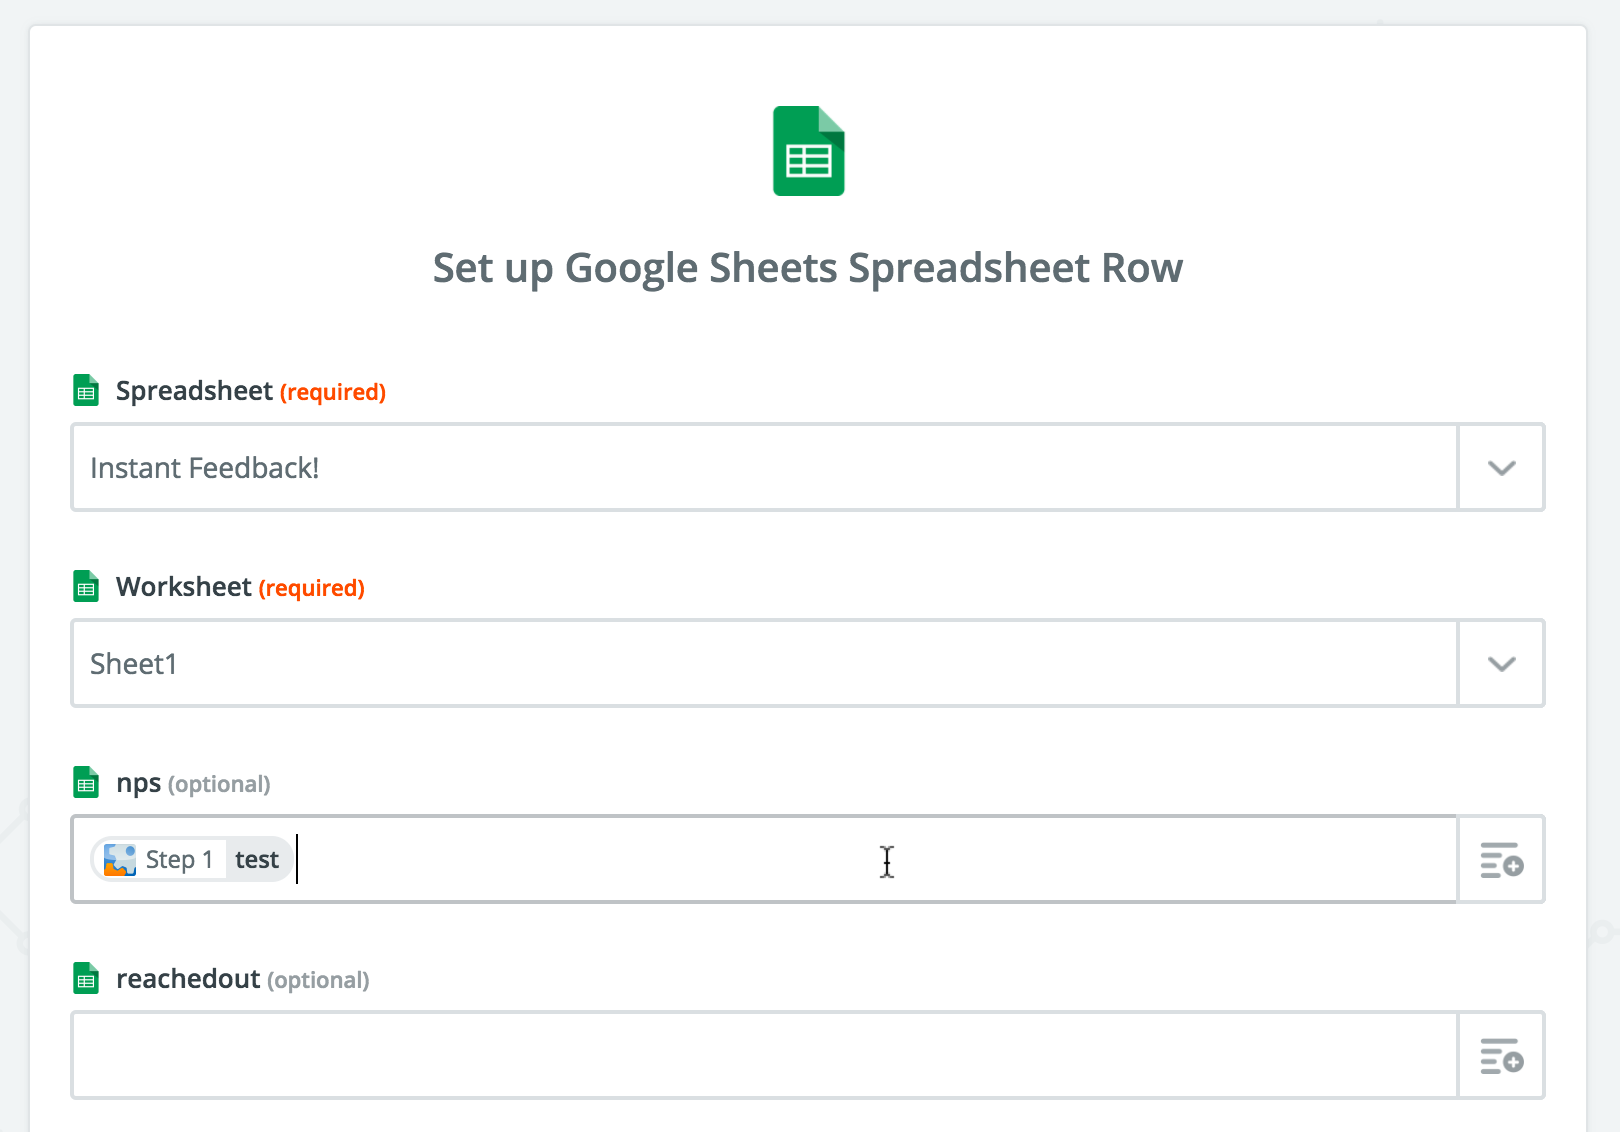
- Now you're ready to test your Google Sheets action. Click Create & Continue.
- Once you've verified that the trigger and action are working as expected, click Finish.
- Now all you need to do is name your Zap and turn it on.
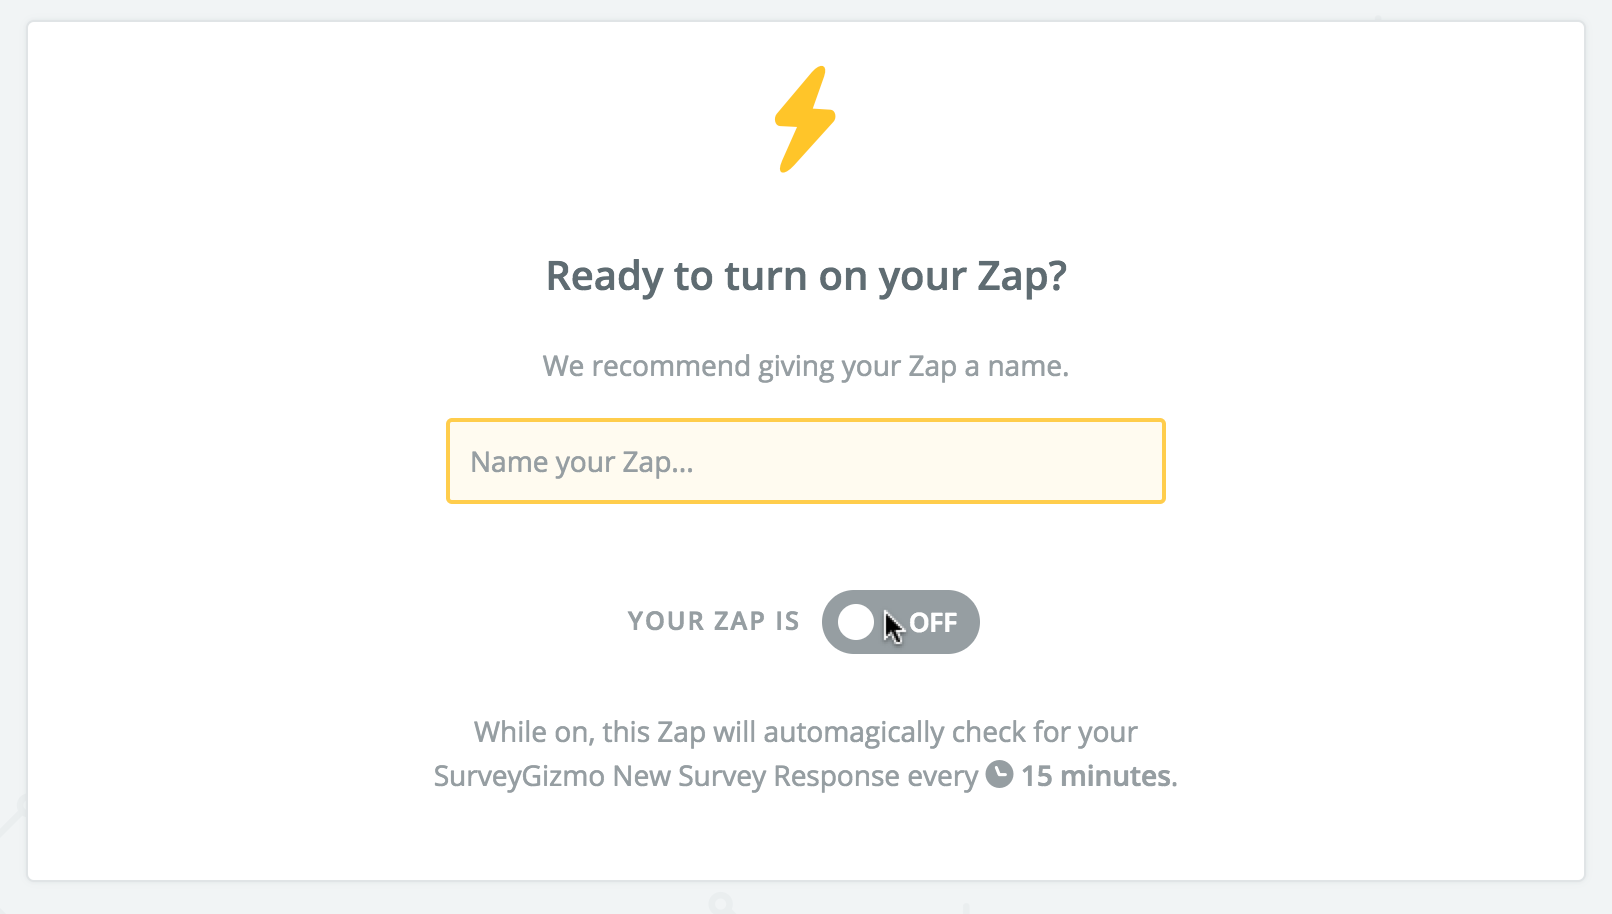
Now you're good to go! If you need to edit or delete a Zap, you can manage your Zaps from the Zapier Dashboard.
Sending File Upload Questions to Zapier
While the Zapier Integration is not set up to send pull from File Upload questions we have a workaround! You can add a Hidden Value action to store the link to the files.
To set this up, add a Hidden Value to any page following the file upload question.
In this Hidden Value field you'll need to construct the link to the file. All file upload links have a specific file page with one of two base file paths depending on whether you are using the File Upload Security setting:
Nonsecure base file path
http://surveygizmoresponseuploads.s3.amazonaws.com/fileuploads/
Secure base file path
https://dwnhk4uli03se.cloudfront.net/fileuploads/
In addition to the base file path you'll need to add the following:
- Your account ID
- Survey ID where file was uploaded
- Name of the file
The schematic is:
http://surveygizmoresponseuploads.s3.amazonaws.com/fileuploads/[ACCOUNT]/[SURVEY ID]/[FILENAME]
Or the following if you are using the File Upload Security setting:
https://dwnhk4uli03se.cloudfront.net/fileuploads/[ACCOUNT]/[SURVEY ID]/[FILENAME]
To set this up, start with the base file path and add:
- Your account ID in place of [ACCOUNT]
- The survey ID in place of [SURVEY ID]
- [question("value"), id="3"] - this is the merge code for the file upload question, put this in place of [FILENAME] (be sure to replace the id=3 with the id of your file upload question).
If you would like to allow respondents to upload multiple files you'll want to set up separate file upload questions and allow a single file per question.
Troubleshooting
Having trouble getting your SurveyGizmo Triggered Zap to work? Below are a couple of things you can double check.
What is the Only Complete Responses setting set to?
Yes or No are your best bets to get the integration to work.
Do your trigger and action accounts show that they are working?
Within Your Trigger and Action go to your each account and click Test to check.
Are you receiving a 401 authentication error when creating a new Zap?
This is the result of a change in authentication requirements we made to increase the security of our API. If you've had a SurveyGizmo Zap for awhile your existing Zaps will continue working, however, for new Zaps you'll need to provide your new API credentials. Check out our API Authentication Tutorial to learn where to get this information.
Are you an EU or Canada customer?
Zapier does not support either EU or Canada versions of our application.
Not sure if your account is US, EU, or Canada?
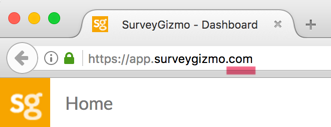
Check the URL when you are logged in to the application. If you see app.surveygizmo.com your account is a US account.
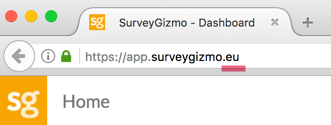
If you see app.surveygizmo.eu your account is an EU account.
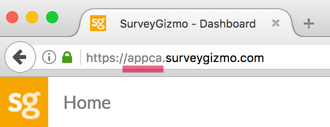
If you see appca.surveygizmo.com, your account is a Canada account.


Admin
— Bri Hillmer on 10/26/2016
@SVSU: I have great news! I worked with Zapier to get this working!
You need to modify the File field in the action to send to Dropbox. Basically, you'll need to select the question where the file is uploaded and then prepend the following information:
http://surveygizmoresponseuploads.s3.amazonaws.com/fileuploads/[Account ID]/[Survey ID]
Your resulting field would look like so:
http://www.screencast.com/t/W5p4LTCupW8
You can find your account ID under Account > Account Summary.
To get the Survey ID take a look at the URL while you're in the survey builder. The number that follows /id/ is your survey ID.
Let me know if you have questions; and I will work to get this workaround documented.
Bri
Documentation Coordinator/Survey Sorceress
SurveyGizmo Customer Experience Team
Admin
— Bri Hillmer on 10/26/2016
@SVSU: I've never done what you describe so I set up a Zap to test this out. So far, I cannot get this to work. I've submitted a ticket to Zapier to see if I can sort out the trouble.
I opened a ticket with you as well so I can follow up with you.
Bri
Documentation Coordinator/Survey Sorceress
SurveyGizmo Customer Experience Team
— SVSU on 10/26/2016
Do you have more info on the File Upload question type copying files over to DropBox using Zapier? Is it pretty reliable?
Admin
— Dave Domagalski on 09/22/2015
@Lindsay: Thank you for taking a look at SurveyGizmo Documentation!
The best option here is to add a Hidden Value field to your SurveyGizmo survey. This field can be populated with text such as "SurveyGizmo Survey". You can then create a field in your email list that collects the contact source as "text" and map the Hidden Value field in SurveyGizmo to the source field in MailChimp via the Zapier Zap.
This way, each time someone takes your survey and subscribes to your list, the Zap can pass over the "SurveyGizmo Survey" text to your "Source" field in MailChimp.
I hope that helps!
David
Survey Explorer
SurveyGizmo Customer Support
— Lindsay on 09/22/2015
How do I add a tag in Survey Gizmo that can be passed through Zapier to Active Campaign so that we know where the contact comes from?
Admin
— Dave Domagalski on 09/02/2015
@Susan: Thank you for exploring our documentation!
The SurveyGizmo to MailChimp Zapier integration is currently centered around adding/unsubscribing survey respondents within your MailChimp email lists. Unfortunately, the integration through Zapier does not provide an option for sending an email based on a survey response.
I apologize for the inconvenience!
David Domagalski
Survey Explorer
SurveyGizmo Customer Support
— Susan on 09/02/2015
Using Zapier to Mailchimp integration, is it possible to have mailchimp send a specific eMail based upon the survey RESULTS? For example, a personality quiz... can zapier tell mailchimp which eMail to send based upon the results?
Admin
— Bri Hillmer on 08/21/2015
@Susan: It does look like Zapier has an Infusionsoft integration so that would mean that you can create a zap that checks for SurveyGizmo responses and communicates to Infusionsoft!
I hope this helps!
Bri
Documentation Coordinator/Survey Sorceress
SurveyGizmo Customer Support
— Susan on 08/20/2015
Is it possible for SurveyGizmo to send a Zapier communication (or use API) when a specific individual has taken a survey? For example, we want our clients to receive an email to take the survey in month 1 of their program, month 3 and month 6, and to receive reminder eMails if they don't. It doesn't look like SurveyGizmo offers a way to drip eMails based upon a period time (in this example: in 30 days send eMail 1, in 90 days send eMail2 , in 180 days send eMail 3.) We keep our client database in Infusionsoft and can use tags and an eMail sequence to do this. Yet, we need communication back from SurveyGizmo when a survey is completed, so that it will tell Infusionsoft to tag the client record if they HAVE or send a reminder eMail if they haven't. On the survey itself we are asking for first name, last name, eMail address... if SurveyMonkey could send name/eMail addy of each survey taken, Infusionsoft could then follow a RULE within its system to locate the eMail address - tag or send a reminder.
Admin
— Bri Hillmer on 08/19/2015
@Susan: You can absolutely do this! What you are looking for is what we call a Send Email Action.
Here is the document that covers the feature:
http://help.surveygizmo.com/help/article/link/send-email-action
This document covers almost exactly what you are trying to do: send an email when the feedback is negative:
http://help.surveygizmo.com/help/article/link/send-email-on-negative-customer-feedback
Thanks for checking out our documentation!
Bri
Documentation Coordinator/Survey Sorceress
SurveyGizmo Customer Support
— Susan on 08/18/2015
Is there a way to have surveygizmo send an eMail to someone when we get certain "scores" on our survey? For example, when someone scores a 5 or less on "rate your level of satisfaction with your business coaching" we'd like to have an eMail sent to wecare@billbaren.com to notify our customer service that we have an unhappy client. (and can that eMail give the client info in it)