If you would like to test out Salesforce with your SurveyGizmo account, an easy way to do so is with a handy dandy Salesforce Developer account, which allows for one user and is also free of charge.
This article is intended for users wanting to easily test the waters with our integration. It is not intended for users who are familiar with Salesforce or have an existing Salesforce account. Note: We do not support Salesforce. If you have any trouble with the Salesforce side of things you will need to contact their support team!
Creating an Account
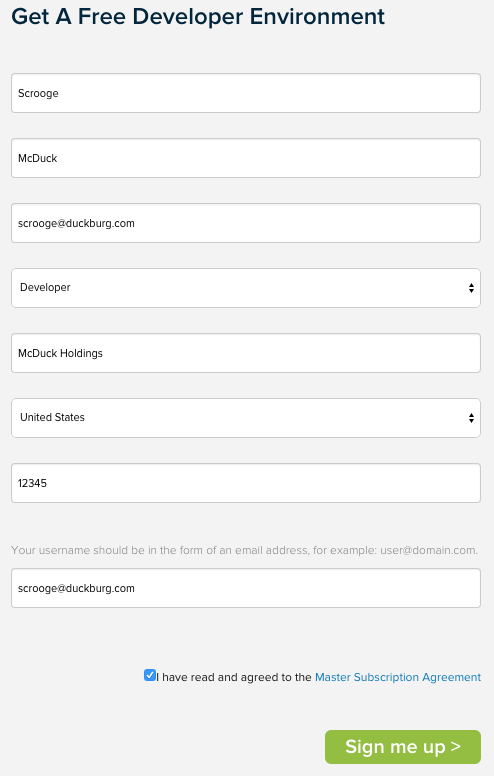
To do so, simply head over to https://developer.salesforce.com/ and hit the Sign Up button up at the top. Fill out the form to create your account.
Once you've confirmed your email address and created a password, you are officially in and greeted with the full majesty of the Salesforce dashboard. Learn it, live it, love it.

There's a lot of content here on this page, but essentially what we're actually looking at is the Setup screen for your account. If you click on the link at the top right that says Setup at the top, you'll see the exact same thing. There's a lot here that we're not really concerned about for a basic introduction to Salesforce. Let's get right into the stuff that matters.
Salesforce Methodology & Terminology
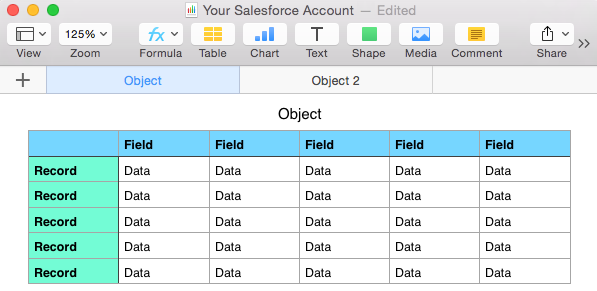
You can think of your data in Salesforce as essentially a database, containing a number of tables (think spreadsheets) which consist of rows and columns. You can think of these with the following vocabulary for Salesforce:
Object: This is the equivalent of the table or spreadsheet. Salesforce has lots of these built in: an Accounts object, a Contacts object, etc.
Field: This is the equivalent of a column in the table. In the Contacts object, you will find fields for contact data such as Email Address, First Name, Last Name, and Organization.
Record: This is the equivalent of a row in the table. A contact is really just a record in the Contacts object, collecting data associated with each field in the object.
You can visualize this like so
Standard Objects
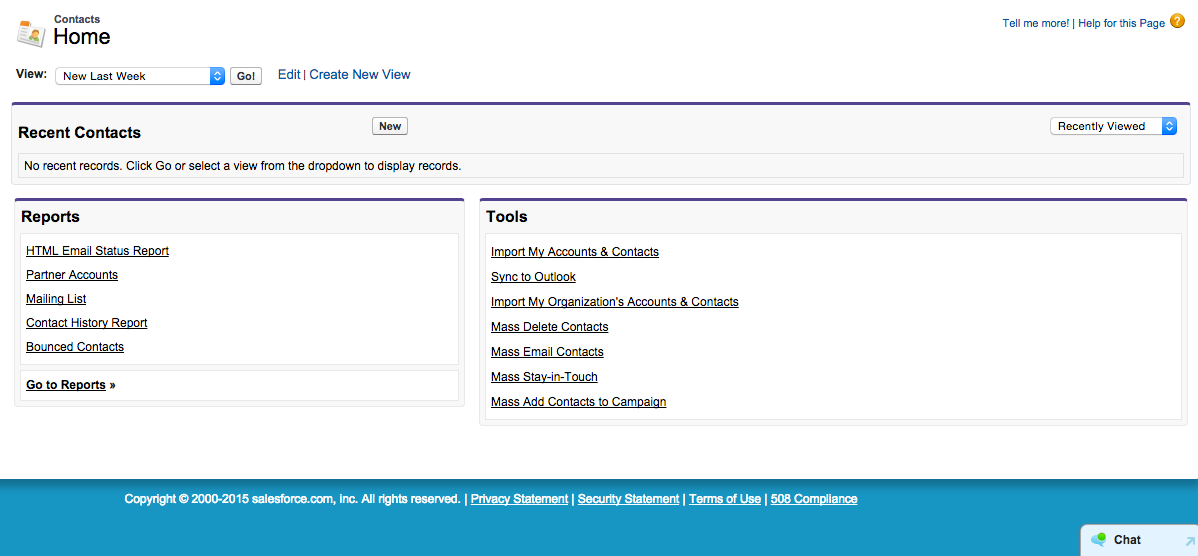
Salesforce has a number of built-in objects complete with pre-configured fields and records. Let's check out the Contacts object. At the top of the Setup screen is a navbar for quickly getting to any of your objects (or the ones you need the quickest access to). When you click on "Contacts" you'll be presented with... not much.
You want to go to a view so you can see your contacts. In the dropdown next to "View" select "All Contacts" and finally you'll be presented with a table full of contacts you didn't actually create.
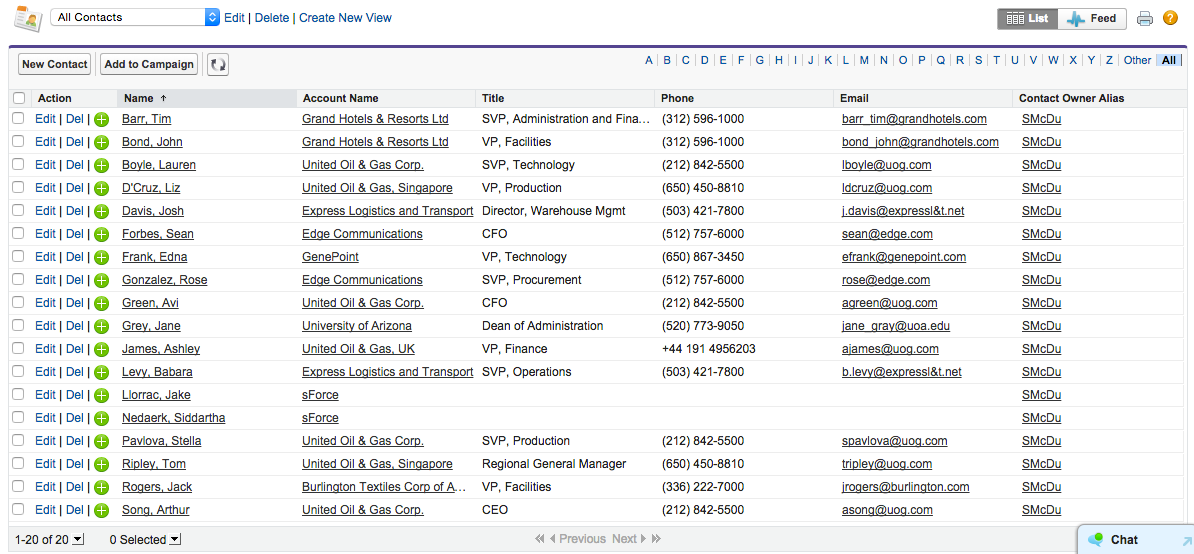
Click on any record in this table and you'll see the full contact card, and you can make changes to the individual contact or delete them, etc.
Custom Objects
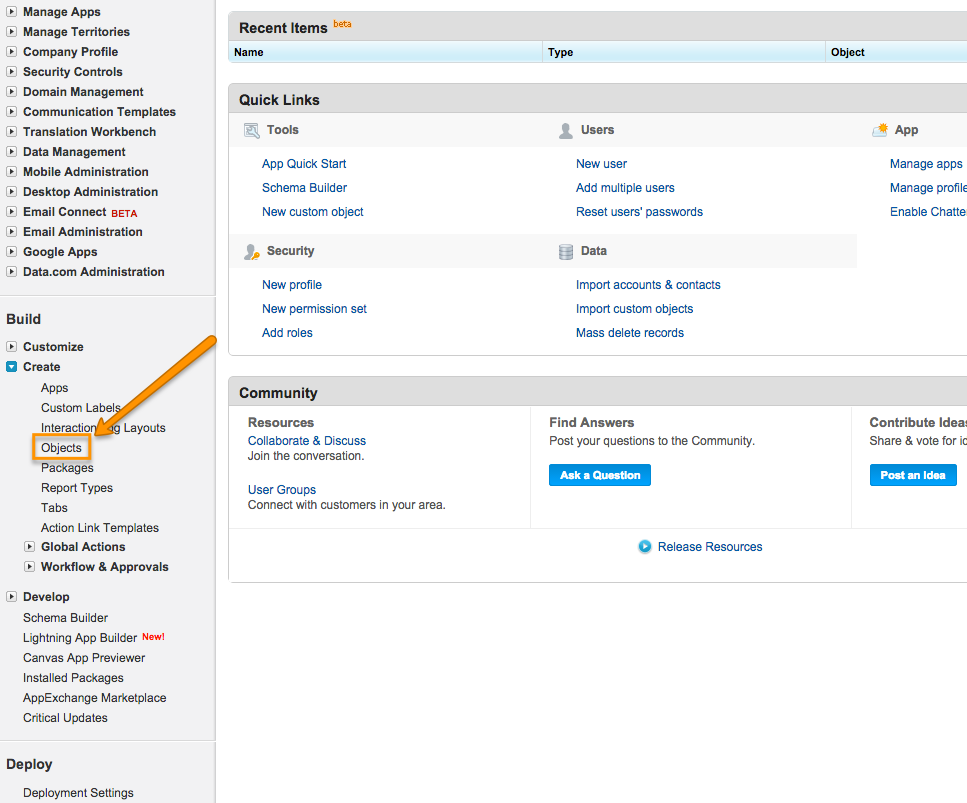
But of course Salesforce's built-in objects will only get you so far, so let's create our own. Back in Setup (remember that you can always get back to the Setup screen by clicking "Setup" up in the top right). When you're there find "Create" in the navbar on the left and then click "Objects" under that.
You'll see that you have no custom objects to speak of, which makes sense. So go ahead and hit the "New Custom Object" button. We can now create our new object. The required components are marked red. You really only have to worry about the Singular and Plural object names. Hit Save.
You'll now be looking at your new object, including the standard fields that came along with it just by virtue of being created. You'll probably want to create fields for your object, though, so let's do that.
Custom Fields
A custom object won't get you very far without fields to populate, so let's create a new field in our object. Scroll down a bit when looking at your object and under "Fields" hit "New".

When you do you'll be presented with several options for the data type, which is to say, the kind of data that this field will accept. This is important because if you try to populate the field with data that doesn't fit the model, it won't work. Click here for a breakdown of the different data types.
Note: In SurveyGizmo trying to push incompatible data can mean a completely broken push action.
Select the datatype that applies to your field. Hit Next.
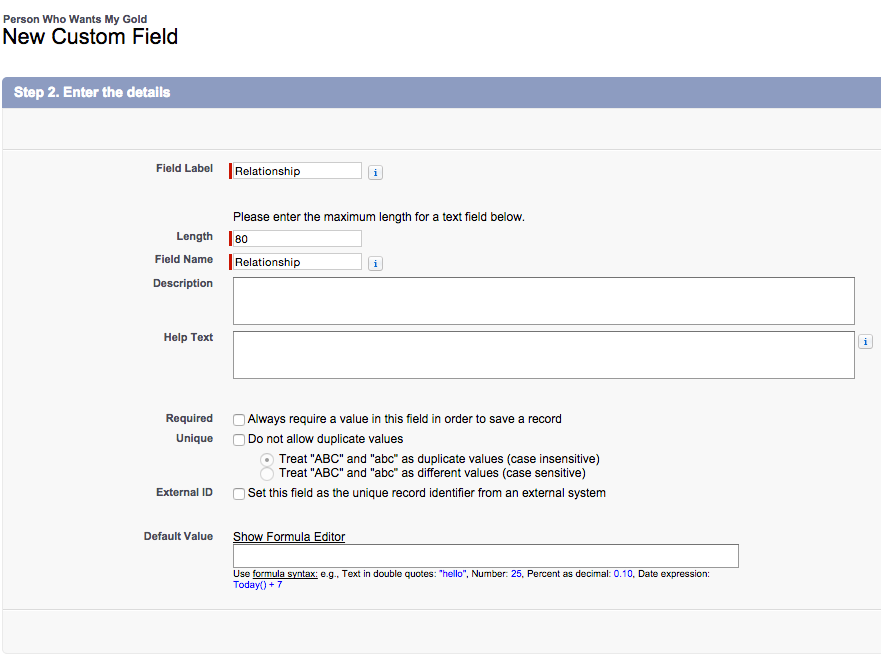
In step 2 you will have to name your field. Hit Next.
In step 3 you can set security on the field for visibility, but since you will be the only user on this Salesforce account, don't worry about it. Hit Next.
Confirm your field by Saving.
If you'd like to create more custom fields feel free to do so.
The last thing we want to do with our custom object is add it to our list of tabs at the top that we can use to view the data. From the Setup screen hit Create => Tabs, then New under "Custom Object Tabs". Select the object we just created and then click through the pages to save it.

Integrate with SurveyGizmo
Rather than reinvent the wheel I think it's a better idea to just let you follow the instructions in our excellent article on setting up a Salesforce integration with SurveyGizmo.
Push to Salesforce
Create a survey that will map to your Salesforce object's fields.
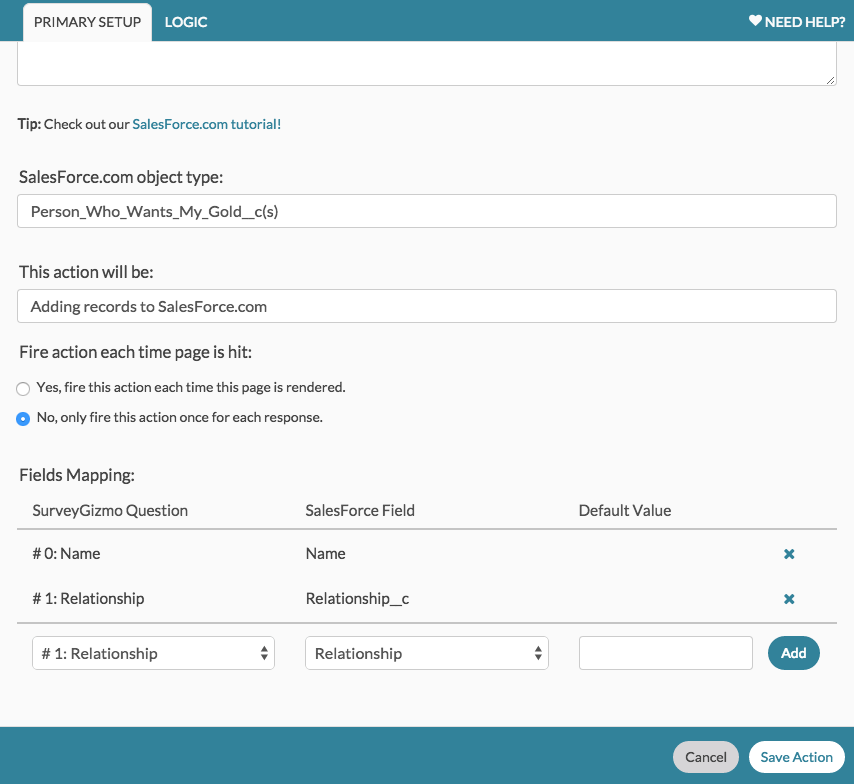
Set up a push action to add records. You should see your custom object show up in the list. You can then map your survey questions to the object's fields.

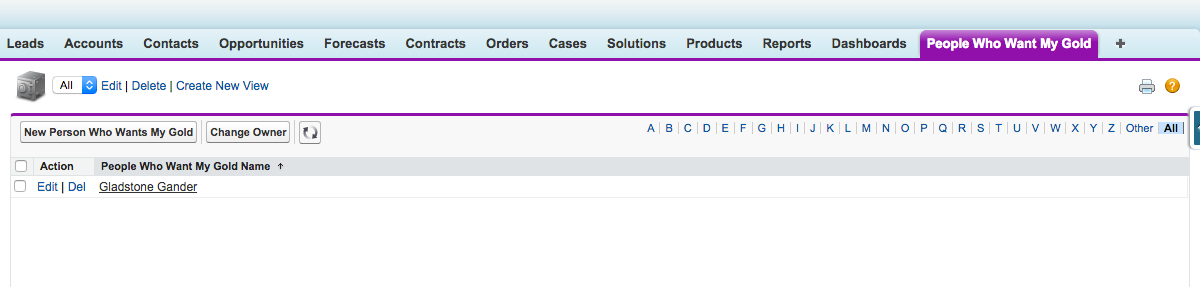
After filling out the survey head back into Salesforce, click on the tab we created earlier for your custom object, and view "All". You should see the record we just created!
Pull from Salesforce
If you'd like to prepopulate your survey with information from Salesforce you can test this out by clicking on our new record, and you can grab the record ID from the URL, here:

Now in SurveyGizmo on the first page of the same survey, add a Salesforce action that populates the survey. Set it up to communicate with the same object. You'll notice this time around that we have a field to set up a query. Remember the lookups I mentioned before when talking about tables? This is what this query does. When it says
select * from Person_Who_Wants_My_Gold__c where Id = '[url("recordid")]'
What that really means is we will pull all records from the Person Who Wants My Gold object where the value for the Id field is equal to the value of our URL variable "recordid". Going back to our table, if we pass the record ID we grabbed earlier from the record we just created, you might imagine the table's logic like so

So we're looking inside the People Who Want My Gold table for the Id field and then finding the one that matches the value we feed it (by way of the URL variable merge code we added in). At that point, Salesforce returns the record with all of its data. We're populating the Name and Relationship into our survey. So when now when we run through the survey with the following link: http://www.surveygizmo.com/s3/2229617/People-Who-Want-My-Money-Form?recordid=a003700000177rE
We should see Gladstone's information prepopulated.
Updating Salesforce Records
If we're prepopulating from an existing record then there's a good chance we want to write the information we collect back to the same record. What we can do is grab our record ID in the survey, and then use that record ID to update the record later (or create a new record if no record ID is found).

On the first page of our survey let's create a Hidden Value action and prepopulate it with the same merge code we used earlier, [url("recordid")].
Now on the last page, we need to add a new Salesforce action, this time, to "Update existing records". We'll be setting this one up with a lookup like we did with the Prepopulate action. This time, though we will use a merge code for the hidden value.
We also need to set up our Update and Add actions with logic so that both don't run at the same time. Easy peasy! We'll just set up our new update action so that it runs when the hidden value storing the record id is answered. If there's no record ID it won't run. Conversely, we will set up the Add action to run when the hidden value is not answered. That should do it.

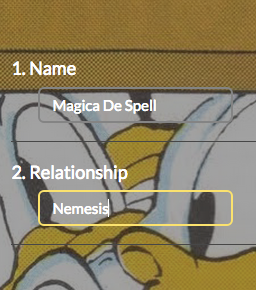
Now if we use a link that passes in one of our record IDs we can update the same record with new information. Let's try http://www.surveygizmo.com/s3/2229617/People-Who-Want-My-Money-Form?recordid=a0037000001784f. It should prepopulate the survey with Magica's information. When we change her relationship and submit the survey, we'll see the updated information in Salesforce right away.

Let's check back in with Salesforce to see what happened. Go back to the object's tab in Salesforce and head to the "All" view. I've customized the view (using the Edit button above the table) to show us some more information than would be here by default. But there we go! Magica's been updated.

Conclusion
And that's it, you're now up and running with Salesforce. This only touches the surface of what you can do with Salesforce of course, but you can hopefully take this and run with it for your own needs. Have fun and happy surveying!