Are you looking to add a header at the top of your survey, perhaps with your logo and brand along with your survey title? Not all of our pre-built themes and color palettes highlight the header, but customizing your survey to do so is easy!
Add a Header
- If you have selected either a Pre-Built Theme or Quick Color Scheme palette that does not highlight the header as much as you would like, click the Header thumbnail on the left to access the header color palette.

- Select a different color for your header. Be sure to click Apply Changes once you have selected the perfect color.

Adjust Header Width
Some header containers will match the width of the page, others will match the width of the survey.

- To customize this go to Layout > Widths / Sizing.
- Here, you can adjust the Page width. Consider the Page content width as well to get the header look and feel you desire.
- You can also take advantage of the Space above the header if you wish to separate it from the overall page.


Add a Header Logo Image
Are you looking to add your logo or another image to the top of your survey?
- Click the Logo thumbnail to get started.

- Click the Add Image Link to select an image. You have a few options for this:
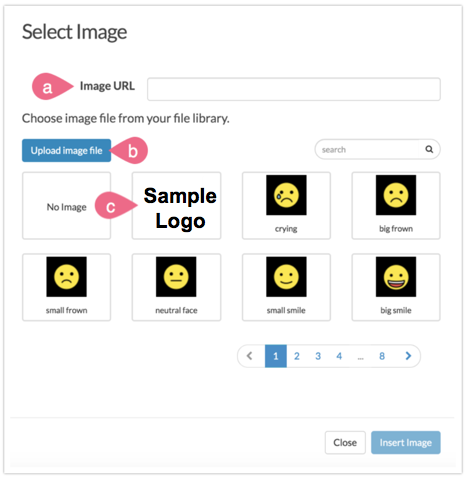
- If your image is hosted online, you can paste the image url into the Image URL field instead of uploading the image to your library
- Click Upload image file to upload a new image from your computer
- Choose images previously uploaded to your SurveyGizmo File Library
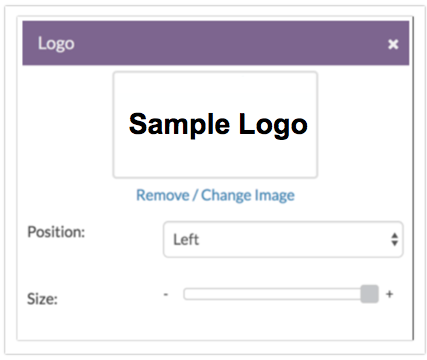
- Once you have added your image, use the position and size controls as needed.


Header Image Sizes
For best results, we recommend header images of up to 750px wide and 200px tall.
If you would like your header image to display like a banner that stretches across the entire page, we recommend image files 1000px wide and 200px tall. To accommodate this image size, change your Page Width (available under Style > Layout > Widths/Sizing) to 100%.
Remove a Header Image
- To remove a header image, click the Logo thumbnail in the left panel.
- Next, click the link to Remove / Change Image.
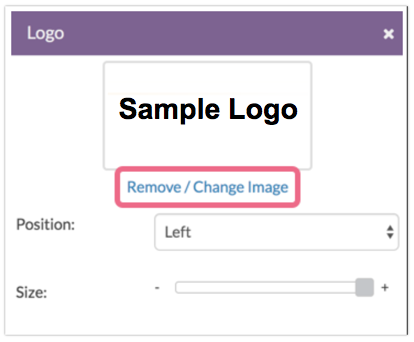
- Finally, click the No Image option in the upper-left corner!
- Be sure to click Apply Changes when you are finished.

Adjust Header Image and Survey Title Alignment
To adjust the header image position, follow these steps:
- Click the Logo thumbnail and select left, right or center in the Position dropdown menu.
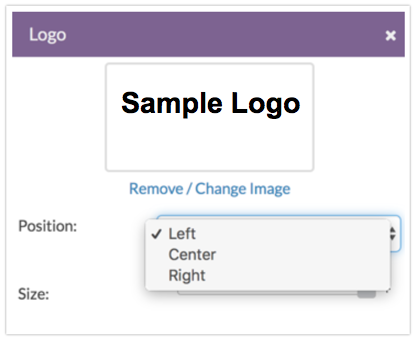
- Be sure to click Apply Changes when you are finished.

To adjust the position of the survey title, click Text > Text Options and select left, right, or center in the dropdown menu to the right of the Show Survey Title option.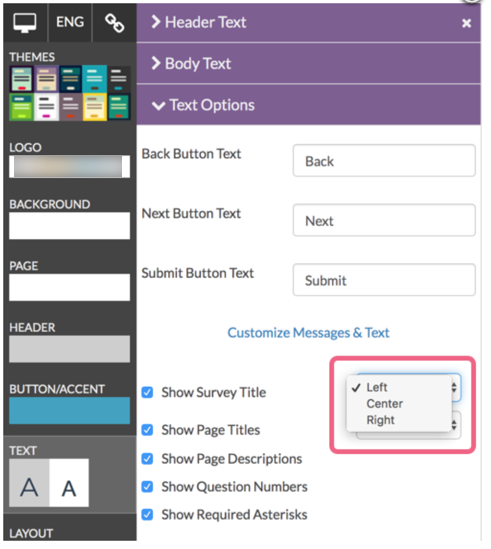
You may notice that the header image and survey title will be stacked one on top of the other. This might not be exactly what you were looking for. If you prefer to have both your image and survey title on the same line, you will need to use a little CSS code.
To do so scroll to the bottom of the survey preview and click HTML/CSS Editor link paste one of the below codes in the field on the Custom CSS tab.
Left align header image:
.sg-header-image{
float:left;
padding-left: 10px;
}
Right align header image:
.sg-header-image{
float:right;
padding-right: 10px;
}
Want Two Header Images?
Do you have two images? No worries, we've got you covered!
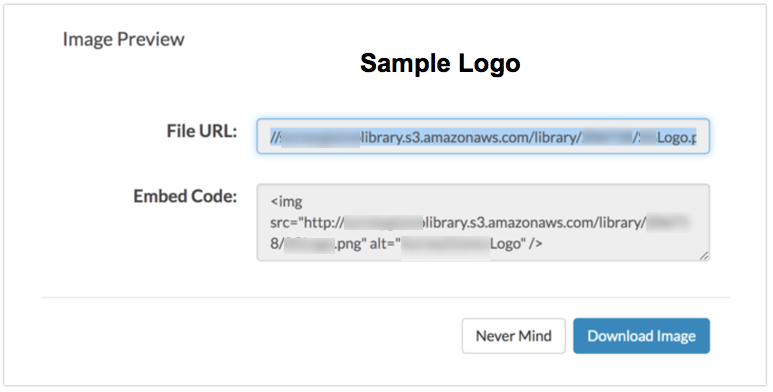
- First, get the links for both images. If the files are located in our File Library, go to Account > Libraries > File Library.
- When you click on an image, you will see the File URL of the image. Copy this and paste it someplace where you can come back to it later. Repeat this step for the second header image.
- Now go back to the survey you want to edit and then click Style and scroll to the bottom of the survey preview and click HTML/CSS Editor link.
- You will be editing both the HTML and CSS of your survey theme. Let's start with the HTML.
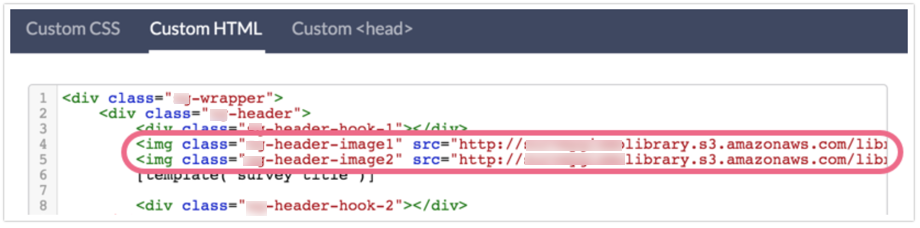
- Go to the Custom HTML tab. You need to replace the
sg-header-imagecode with these two pieces of code, where you replace the two links inside these examples with the links to your images that you copied earlier.<img class="sg-header-image1" src="http://surveygizmolibrary.s3.amazonaws.com/library/193520/tumblr_m1us8cTeCo1r80otbo1_500.jpg" alt="[template("header image text")]" width=50%/> <img class="sg-header-image2" src="http://surveygizmolibrary.s3.amazonaws.com/library/193520/tumblr_lex7n7CGpL1qzrblzo1_500.jpg" alt="[template("header image text")]" width=50%/>

You can adjust the size of the header images by putting in different values for the width=50% parameter. Don't go over 100% as it will cause your images to become pixelated.
Now, go to the Custom CSS tab and paste the following code. You can see that image 1 will float to the left and image 2 will float to the right. You can adjust these as needed.
.sg-header-image2 {
  float:right;}

.sg-header-image1 {
  float:left;}

.sg-header {
  overflow:hidden;}

h1.sg-title {
    clear: both;
}
Once you're done, click Save Changes and see how it looks!

— Mike.cordeiro on 08/27/2020
@Maria: Thank you for reaching out to our help page!
To add a logo with a collaborator license, one will need to add an image via a URL that is referencing an eternally hosted image. Follow the documentation below to complete this:
https://help.surveygizmo.com/help/use-externally-hosted-images-in-surveys#add-image-via-url
I hope this helps clarify!
Mike
Technical Writer
SurveyGizmo Learning and Development
— Maria on 08/19/2020
Hello, please can you suggest how to upload logo in 'collaborator' plan?
— Jeff on 12/09/2018
thanks Dave, I knew that there would be a simple solution, have a great xmas
Admin
— Dave Domagalski on 12/07/2018
@Jeff: Thank you for your note!
Typically, the most straightforward option for adding a logo/image with a transparent background is to use a .png file.
In most cases, you can open your current image, click file > save as, and change the file format to png.
Please don't hesitate to reach out to our Support team if you run into trouble:
https://help.surveygizmo.com/help/surveygizmo-support-hours
I hope this helps!
David
Documentation Specialist
SurveyGizmo Customer Experience
— Jeff on 12/07/2018
Hi team, is there any way to add a logo where the background of the logo isn't white? eg how can I add a logo where it's transparent behind it? thanks in advance
Admin
— Bri Hillmer on 11/06/2015
@Alice: I'm so happy to hear it's helpful! Thanks for your feedback!
Bri
Documentation Coordinator/Survey Sorceress
SurveyGizmo Customer Support
— Alice on 11/05/2015
Having the little bits of custom CSS to copy/paste for non-coders like myself is SO HELPFUL. Thank you!
Admin
— Bri Hillmer on 11/02/2015
@Afonseca: We don't have a built-in way to achieve this but you can get it done with some copy and paste CSS.
The below tutorial covered how to hide the title on specific pages. I've updated it with some info to hide the header image/logo too. Follow option 1 in this tutorial:
http://help.surveygizmo.com/help/article/link/survey-title-first-page
I hope this helps!
Bri
Documentation Coordinator/Survey Sorceress
SurveyGizmo Customer Support
— Afonseca on 11/02/2015
Am I able to add a logo image and title only for the first and last page of my survey?
Admin
— Bri Hillmer on 07/15/2015
@Sue: Thanks for taking a look at our documentation! I tried to clear this up a bit in the documentation but I would love to hear more about where you got hung up.
I will reach out to you in a ticket!
Bri
Documentation Coordinator/Survey Sorceress
SurveyGizmo Customer Support
— Sue on 07/14/2015
Please can you supply a simple solution to add a logo
Admin
— Dave Domagalski on 05/26/2015
@Krista: Thank you for exploring SurveyGizmo documentation! I am sorry for the trouble - I will be opening a ticket with you to see if I can help out! You will receive an email shortly.
— Krista on 05/25/2015
It should not be this difficult to add a logo to my survey.